Network Printing: Set Up and Configure Your Printer Easily
Table of content
Powering On and Connecting Your Printer
Before you begin with network printing, ensure that your printer is powered on and properly connected to your network. This can be done either via Ethernet or Wi-Fi, depending on your printer's capabilities.
Setting Up a Network Printer on Windows
- Open the Control Panel and navigate to the Network and Sharing Center.
- Enable file and printer sharing in the advanced sharing settings.
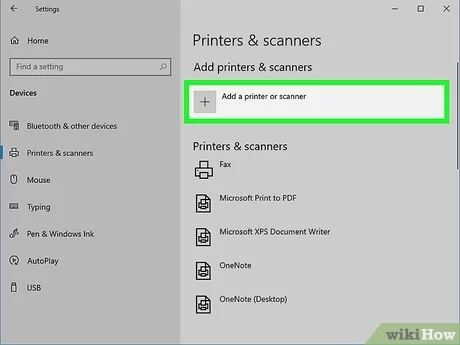
- Open the Start menu and search for "Printers" or "Devices and Printers."
- Select the printer you want to share and access its properties.
- Go to the Sharing tab and check the box for "Share this printer."
- Optionally, change the share name for easier identification.
- Click OK to save the settings.
- Ensure the computer sharing the printer has the correct printer drivers installed.
- If other computers cannot print, visit the printer manufacturer's website to download the necessary drivers.
Configuring a Network Printer on macOS
- Open System Preferences and go to Print & Scanners.
- Check if the printer is automatically detected; if not, add it manually.
- For older versions of macOS, use the Print Center utility to set up the printer.
- If using AirPrint, ensure the printer supports it and is connected to the same Wi-Fi network as your Apple devices.
Adding a Network Printer on Linux/Unix
- Use the CUPS (Common Unix Printing System) interface to add and manage printers.
- Access the CUPS web interface by entering "http://localhost:631" in a web browser.
- Follow the prompts to add a network printer.
Connecting Ethernet-Capable Printers
- Connect the printer directly to the router using an Ethernet cable.
- Ensure the printer is configured to obtain an IP address automatically (DHCP).
Setting Up Wi-Fi-Capable Printers
- Use the printer's built-in screen to connect to your Wi-Fi network.
- Follow the on-screen instructions to enter your Wi-Fi credentials.
- Once connected, the printer should be visible to all devices on the network.
Pairing Bluetooth Printers
- Ensure the printer is in pairing mode.
- On your device, enable Bluetooth and search for available devices.
- Select the printer from the list and complete the pairing process.
Using Wireless Printer Adapters for Older Printers
- Consider using a wireless printer adapter for older printers without Wi-Fi capability.
- Connect the printer to the adapter and then connect the adapter to the router.
- Follow the adapter's instructions to configure it for network printing.
Troubleshooting Printer Detection Issues
- If the printer is not detected, check network connections and ensure the printer is on the same network as the devices trying to access it.
- Restart the printer and the router if necessary.
- Check for any error messages on the printer's display and consult the user manual for solutions.
- Ensure that firewall settings on the computer do not block printer sharing.
Additional Tips for Optimal Printer Performance
- Keep printer drivers updated to ensure compatibility with all devices.
- Regularly check for firmware updates for the printer to improve performance and security.
- Consider setting a static IP address for the printer to avoid connectivity issues in the future.
If you liked it and want to know more content similar to Network Printing: Set Up and Configure Your Printer Easily. Visit our category Tech


By posting you agree to the Privacy Policy
Basic information on data protection