Switch Apple Watch Band: Easy Steps to Change It
Choosing the Right Band
Before you switch apple watch band, it's essential to choose a band that is compatible with your Apple Watch case size. Apple offers a variety of bands, including sport bands, leather bands, and metal bands, each designed for specific styles and occasions. Make sure to check the size of your Apple Watch and select a band that fits properly.
Preparing Your Apple Watch
To prepare for the switch apple watch band process, place your Apple Watch face down on a clean surface. A lint-free, microfiber cloth or a soft, padded mat is ideal to prevent scratches on the watch face. This will ensure that your watch remains in pristine condition while you change the band.
Removing the Old Band
- If you are using a Link Bracelet, press the quick release button on a link to separate the band into two pieces.
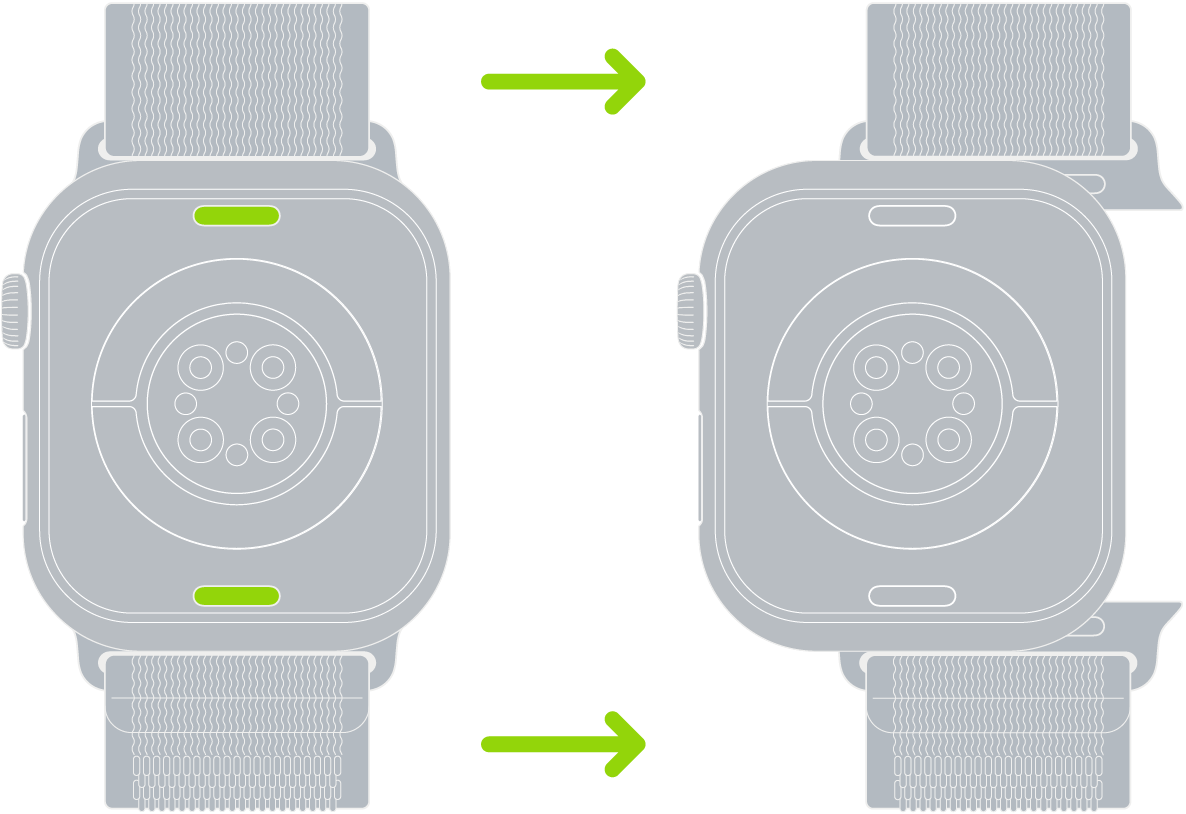
- For standard bands, hold down the band release button and slide the band across to remove it.
- If the band doesn’t slide out, press the band release button again while holding it down.
Installing the New Band
When you are ready to switch apple watch band, follow these steps:
- Ensure the text on the new band is facing you.
- Slide the new band in until you feel and hear a click.
- For Solo Loop or Braided Solo Loop bands, stretch the band over your wrist from the bottom to put it on or take it off.
- For the Milanese Loop, slide the magnetic closure through the band connector to open it completely.
- For Ocean Band, Alpine Loop, and Trail Loop, ensure the band edge (lug) is parallel to the watch case before inserting.
- Gently push the lug toward the case with the metal tooth facing down.
Special Considerations for Different Bands
When you switch apple watch band, keep in mind the following special considerations:
- If using the Apple Watch Ultra, it is compatible with 45mm bands for casual wear, but rugged bands are recommended for activities.
- To adjust the Modern Buckle, press the release buttons on the sides of the magnetic closure and use the adjustment holes to resize.
- To close the Modern Buckle, align the two-piece magnetic closure until it locks into place.
- For the Link Bracelet, ensure the butterfly closure is closed before removing the band.
- Hold down one of the quick release buttons on the inside of the bracelet while gently pulling the links apart.
Adjusting and Securing the Band
After installing the new band, you may need to adjust it for a comfortable fit:
- To adjust the Titanium Milanese Loop, lift the clamp and slide the buckle to the desired position, keeping it parallel with the band.
- Press down to close the clamp after adjusting.
Final Checks for Proper Installation
To ensure that you have successfully completed the switch apple watch band, follow these final checks:
- Never force the band into the slot; if you don’t feel or hear a click, slide the band left and right to ensure proper alignment.
- If the band is installed correctly, it won’t slide freely until you hold down the band release button.
- If the band still doesn’t lock, center it and push it into place, then gently wiggle it up and down.
- Avoid wearing your Apple Watch if the band is sliding, as this indicates improper installation.
If you liked it and want to know more content similar to Switch Apple Watch Band: Easy Steps to Change It. Visit our category Apple


By posting you agree to the Privacy Policy
Basic information on data protection